Category Archives: Photo/Video Technique

A mini comparison of RAW photos development

I recently downloaded a trial version of DxO PhotoLab 8 to explore its capabilities and compare it to my current RAW file converter, Adobe Lightroom Classic, along with the camera manufacturers’ own RAW converters. For this comparison, I used RAW files from five different camera bodies, all of which I have owned at some point.

Test Objective

The primary goal of this test is to evaluate the colour and tonality of each processed images. Since I frequently shoot using auto-ISO, my exposure settings can vary. To ensure a fairer comparison, I made necessary adjustments to only exposure, colour temperature, and tint. Other than cropping (done in Lightroom for consistency) and applying noise reduction for some DxO PhotoLab’s processed images, I avoided additional edits like contrast correction, highlight recovery, saturation boosts, or any others to keep the comparisons straightforward.

These adjustments reflect my personal taste, and everyone’s preferences for colour and tonal balance may differ. The conclusions here are hence purely my own. You also can download the zipped file at the end of this article to view all the processed files and form your own opinions.

Theese comparisons are organised by camera models.

Canon EOS 1DX Mark II

This is the oldest camera in this comparison. For Adobe Lightroom, I used both the Adobe Color profile and a custom colour profile. For comparison, I used Canon Digital Photo Professional 4 (DPP) with the Fine Detail Picture Style, and DxO PhotoLab 8 with its default camera profile.

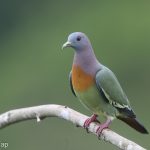
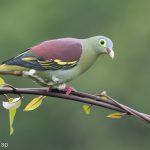
Pink-necked Green Pigeon

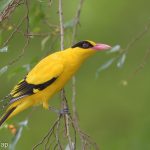
Black-backed Kingfisher

King Quail

Nikon D500

The second-oldest camera in this comparison. For Adobe Lightroom, I used both the Adobe Color profile and the Camera Neutral profile. For comparison, I used Nikon NX Studio with the Neutral Picture Control, and DxO PhotoLab 8 with its default camera profile. The Camera Neutral profile in Adobe Lightroom closely matches Nikon’s in-camera Neutral Picture Control in NX Studio.

Thick-billed Green Pigeon

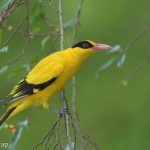
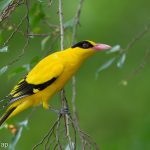
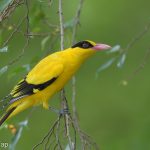
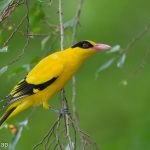
Black-naped Oriole

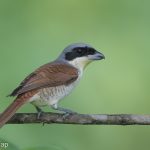
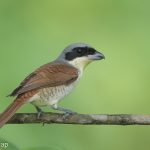
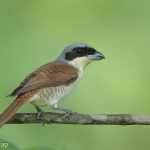
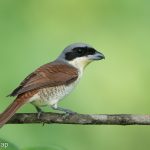
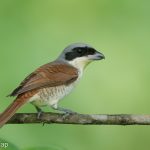
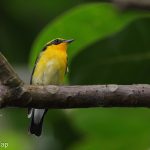
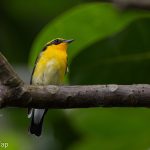
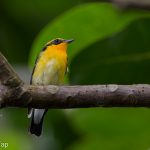
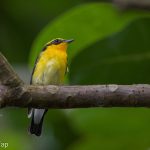
Tiger Shrike

Sony A9

This camera is often considered challenging in terms of colour rendering. However, with the right adjustments to colour balance (temperature and tint), it can produce good results with the right software. For Adobe Lightroom, I used both the Adobe Color profile and a custom colour profile. For comparison, I used Sony Imaging Edge Desktop with the Standard Creative Look, and DxO PhotoLab 8 with its default camera profile.

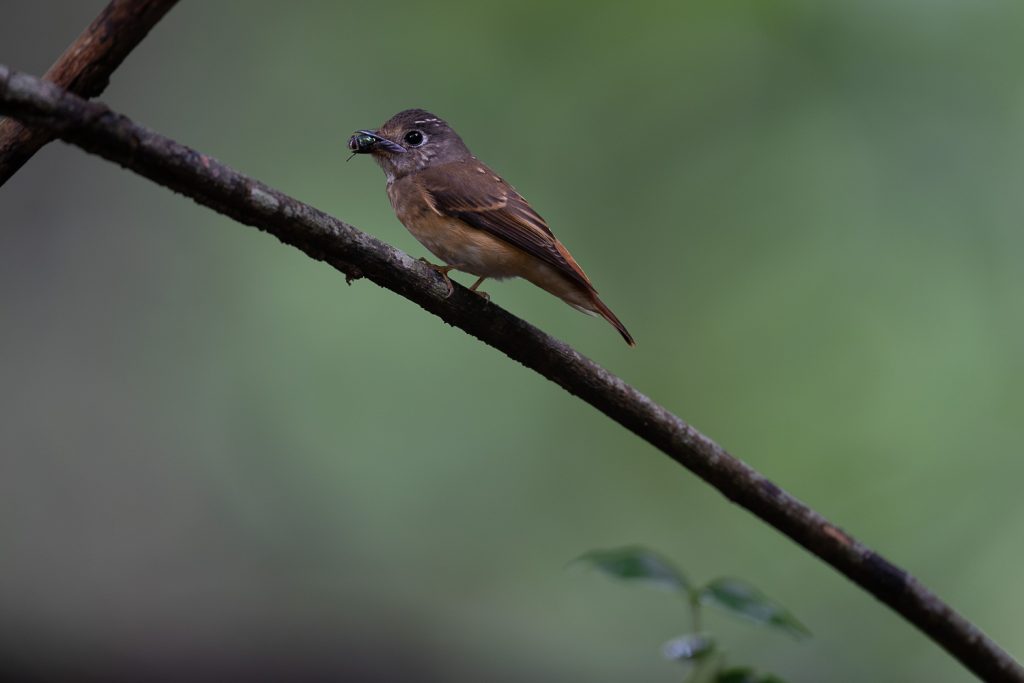
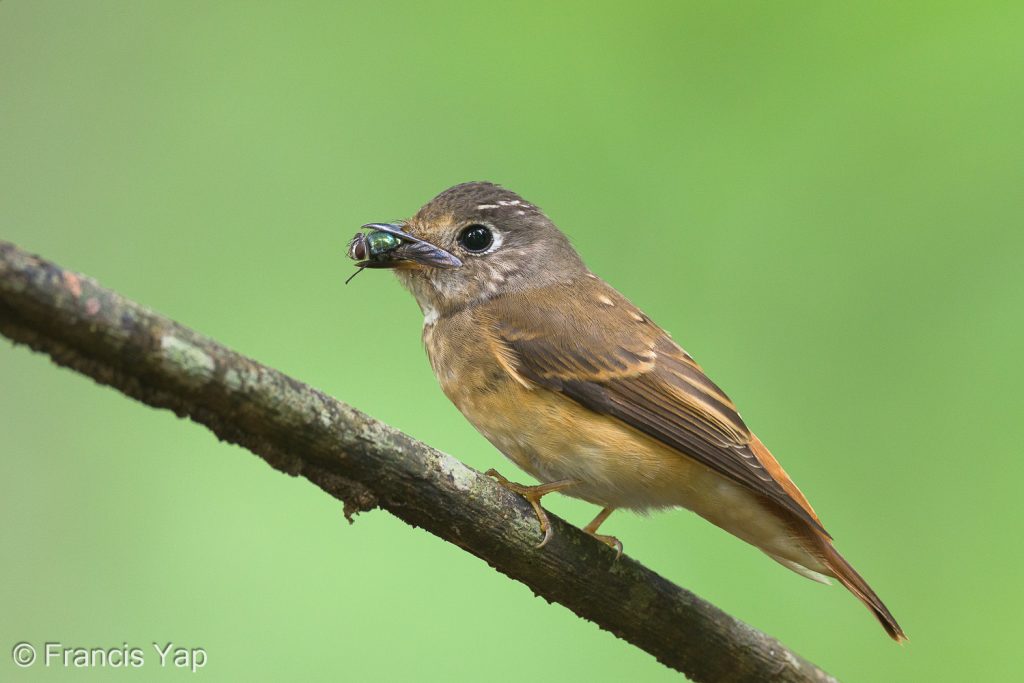
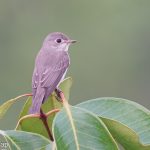
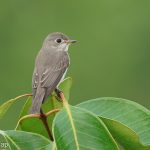
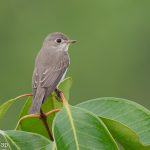
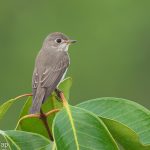
Asian Brown Flycatcher

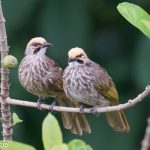
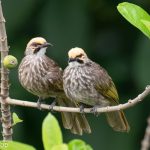
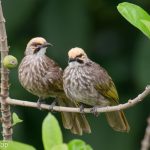
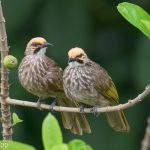
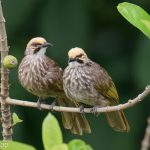
Straw-headed Bulbul

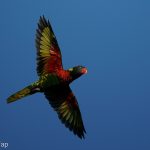
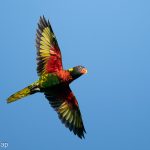
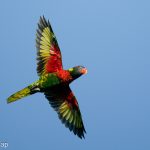
Coconut Lorikeet

Canon R5

This is my underutilised backup camera, and I haven’t taken many photos with it. For Adobe Lightroom, I used both the Adobe Color profile and a custom colour profile. For comparison, I used Canon Digital Photo Professional 4 (DPP) with the Fine Detail Picture Style, and DxO PhotoLab 8 with its default camera profile.

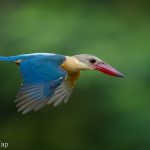
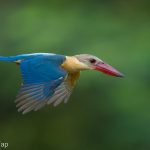
Stork-billed Kingfisher

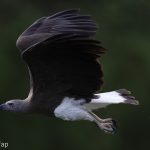
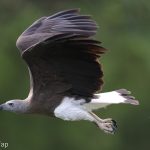
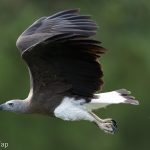
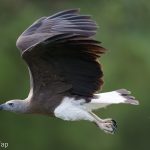
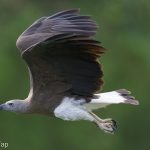
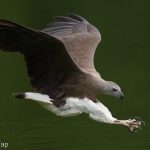
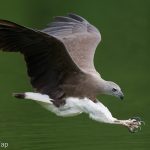
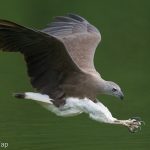
Grey-headed Fish Eagle

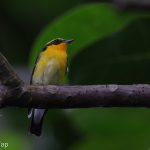
Narcissus Flycatcher

Sony A1

This is my current main camera. For Adobe Lightroom, I used both the Adobe Color profile and a custom colour profile. For comparison, I used Sony Imaging Edge Desktop with the Standard Creative Look, and DxO PhotoLab 8 with its default camera profile.

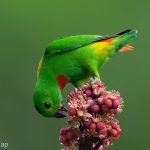
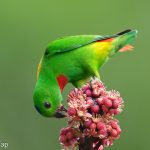
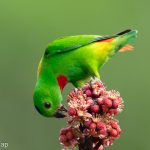
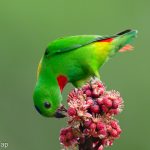
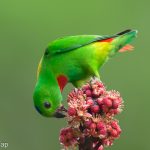
Blue-crowned Hanging Parrot

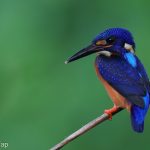
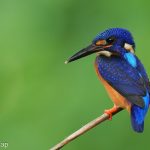
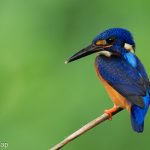
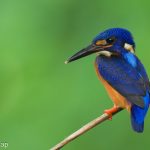
Blue-eared Kingfisher

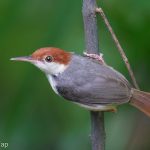
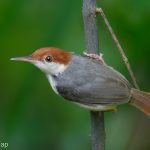
Rufous-tailed Tailorbird

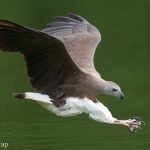
Grey-headed Fish Eagle

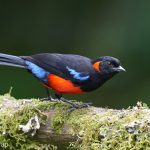
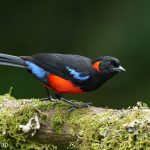
Scarlet-bellied Mountain Tanager

Discussion

Processing 17 images using four different methods each has been quite a challenge. While some images could be tweaked for better results, I’ve imposed a deadline for this review. I chose more challenging images with varying dynamic range, exposure, and colour balance issues across several camera models. For the more contrasty scenes, I chose to keep the scene a bit underexposed so as not to have too much highlights blown out, so as not to overly penalise the converters that have a higher contrast starting point.

After reviewing the images, my initial impression is that getting colour temperature, tint, and exposure within an acceptable range is more crucial than the choice of RAW converter itself. In the end, the final conversions are not ALL that different from each other in feel to be honest, although I have clear favourites.

The manufacturers’ software offers good colour and tonality as expected, but their controls can be unintuitive and lack the ability to easily revert experimental changes, although the RAW files remain unaffected. Despite these limitations, they provide a solid starting point for further processing.

DxO PhotoLab produces consistently pleasing results. While I can’t measure what the “correct” colours are in this comparison, the outcomes look natural and satisfying. I’m quite impressed with DxO’s feature set, particularly its RAW conversion, denoising, and lens correction capabilities. It’s a mature software package, and I can see myself using it for more challenging conversions.

Adobe Lightroom conversions, particularly with the Adobe Color profile, don’t excite me. This profile is too contrasty in many situation although that can be adjusted. It seems to have trouble with rendering very saturated colours that are present in some birds, regardless of contrast adjustments. However, for the Nikon D500, I’m content with the Camera Neutral profile.

Ultimately, colour and tone preferences are personal, and what works for one person may not work for another. Adobe Lightroom and Adobe Photoshop dominate the RAW conversion space, and most users are satisfied with their rendering, so perhaps my dissatisfaction is more of a “me” issue.

If you’re curious, you can download the original processed files in zip format for closer inspection here (48.5Mb).

A short guide for new birders in Singapore – 2024

Welcome to the World of Birding!

Firstly, welcome to the exciting world of birding! Birding in Singapore offers a unique experience. Despite its small size, Singapore boasts rich biodiversity, giving birders the chance to encounter an impressive variety of species. The island’s size, combined with its excellent infrastructure, makes it easy to reach birding locations anywhere quickly. The comparatively large birding community, and advanced tools for sharing bird information, further enhance the experience. Not only is it easy to find and photograph birds, but it’s also easy to connect with like-minded people in the community.

1. Choosing the Right Equipment

One of the biggest challenges for new bird photographers is deciding what gear to invest in. A camera that can shoot birds from a distance is essential, but this doesn’t mean you need the most expensive gear to start.

  • Camera Options: For beginners, starting with an affordable, easy-to-use camera is wise. The Sony RX10 IV, though compact, provides excellent mobility and decent zoom (up to 600mm equivalent). It’s user-friendly and produces high-quality images in good light. For those willing to invest more, an APS-C mirrorless camera like the Canon R7, paired with the RF 200-800mm lens, offers greater versatility and range. Another option is the Sony A6700 with a 200-600mm lens. These combinations allow room for upgrades as you progress in your photography journey. Lastly if budget is a severe constraint but you still want an interchangeable lens camera system, consider buying a pre-owned Nikon D500 coupled with the Nikon AF-S FX NIKKOR 200-500mm zoom lens.
  • Lens Focal Length: The lens is arguably the most important part of your bird photography kit. For distant birds, a telephoto lens with at least a 300mm focal length is the bare minimum. More focal length is always welcome, but bear in mind that longer telephoto lenses tend to be heavier and harder to carry during long walks. A focal length between 500-600mm is a good sweet spot for many wild birds.
  • Tripods and Monopods: Stability is crucial, especially when using heavy telephoto lenses. A tripod can be useful when photographing birds in one location for extended periods, while a monopod is more portable and helpful for tracking birds on the move. Consider more affordable brands like Benro, Sirui and Leofoto for your first tripod/monopod. The overall weight of your camera and lens determine the optimal setup.
  • Binoculars: Even if you’re primarily interested in bird photography, a good pair of binoculars, such as the Nikon MONARCH M5 8×42 series, is invaluable. Binoculars help you locate birds and study their behaviour from a distance before deciding on the perfect shot.

2. Bird Identification

After spotting or photographing a bird, how do you know what species it is? Fortunately in 2024, there are several excellent resources that can assist you.
  • Merlin Bird ID App: This free app is a fantastic resource for identifying birds using photos or song recordings. It’s especially useful for beginners who may not be familiar with bird species. You can download it here.
  • Online Birding Communities: Facebook groups like Bird Sightings or Telegram groups (here or here) dedicated to birdwatching are great platforms for connecting with fellow birders. These communities can assist with identification, birding tips, and local sightings. Additionally, as you know more birding friends, you may get added to private WhatsApp groups that discuss sightings in smaller, more focused settings.
  • Books and Field Guides: Once you’ve identified around 80-100 birds, I recommend investing in a field guide. Before that, you can pretty much rely on the community for assistance. Once your each that number, I think it’s time to learn more comprehensively about the birds, and field guides are excellent learning material, if a bit dated with many other free online sites available for basically the same function. A good review can be found here

3. Other Resources for Birds

  • eBird: eBird is your best friend when it comes to discovering rare bird sightings in Singapore, finding popular birding locations, and recording your own sightings. You can find it here.
  • Birds of Singapore website: This website provides a comprehensive account of all wild bird species in Singapore. It includes photos, descriptions, and links to external resources. Visit Birds of Singapore for more information.
  • Xeno-canto: A great resource for bird sound recordings. You can access it here.

4. Learning Bird Photography and Camera Settings

Technical mastery is key in bird and wildlife photography, as birds are fast-moving subjects often found in challenging lighting conditions. Here are a few tips:

  • Shutter Speed: For perched birds, a speed of 1/500 sec is often enough. For birds in flight, 1/2000 sec is a good starting point and you adjust lower or higher depending on the speed and distance of the bird. Burst mode helps capture multiple frames in quick succession.
  • Aperture: A wide aperture (low f-stop) like f/4 or f/5.6 helps create a shallow depth of field, blurring the background and making the bird stand out. Use the widest aperture available for most shots unless specific needs arise.
  • ISO: Lower ISOs (e.g., ISO 100-400) yield better image quality with less noise. However, in low light, increase ISO to maintain a viable shutter speed. Most modern cameras handle higher ISOs well, so don’t be afraid to push it to ISO 800 or higher if needed.
  • Autofocus: Continuous autofocus (AF-C or AI Servo) is recommended for moving subjects. Many cameras have subject-tracking modes that help the camera lock onto and follow a bird’s movements. If you camera comes with bird subject detection mode, use the “Wide” or “Zone” settings, but in trickier conditions, learn to quickly switch to single focus point for manual subject detection.
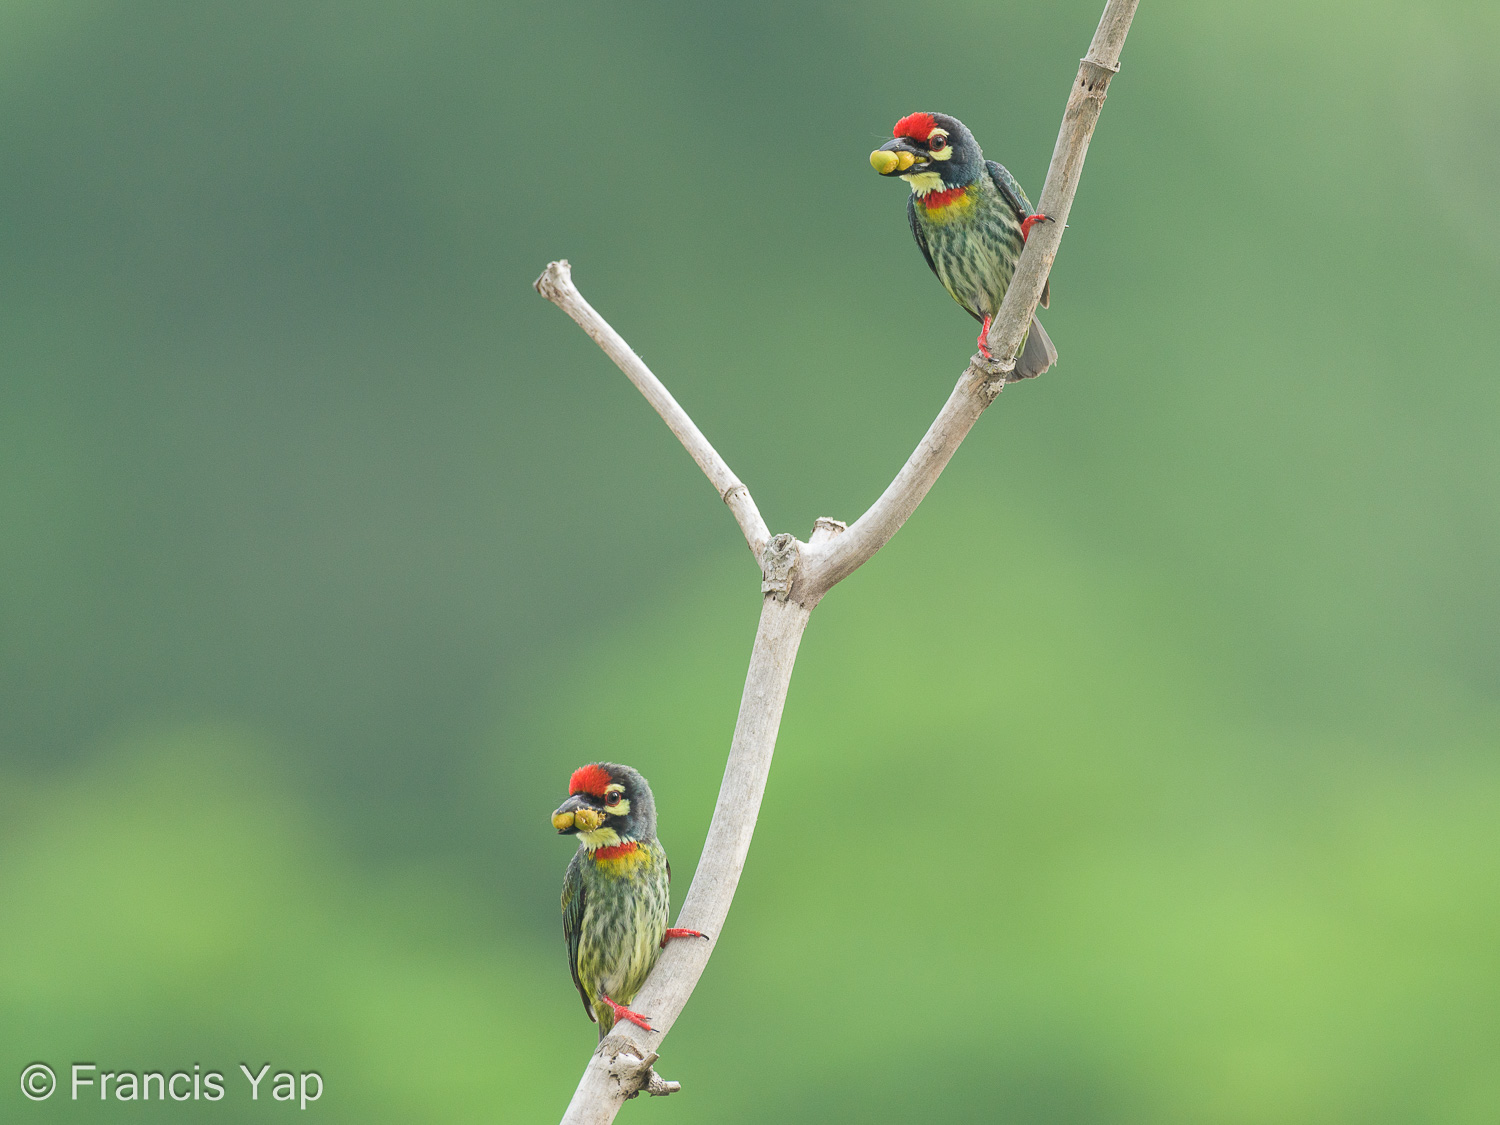
Coppersmith Barbet at Ghim Moh Link

Coppersmith Barbet breeding pair at Ghim Moh Link. Settings: 840mm, 1/500s, f/5.6, ISO 500

5. Learning the Basics of Composition

Composition elevates your photos from snapshots to compelling images. Here are just a few tips that may help

  • Backgrounds: Pay attention to the background. A clean, uncluttered background helps the bird stand out. Changing your angle slightly can make a big difference.
  • Action Shots: Capture moments of movement, like birds taking off, feeding, or interacting with their environment. These moments bring life to your photos and tell a story.
  • Eyes in Focus: The eye should always be sharp and in focus. The viewer naturally connects with the eyes of the bird, so having them clear and focused makes for a more engaging image.
  • Use of Light: Lighting is critical to any type of photography, including bird photography. Soft, natural light (early morning or late afternoon) is ideal for bird photography as it casts a warm glow, enhances colours, and reduces harsh shadows. Also be aware of the position of the sun, as that also determine the quality of the light.
  • Negative Space: This refers to the area around your subject. In bird photography, leaving a larger portion of the frame empty is often preferable than a frame filling shot. Sometimes you may want to show the environment in which the bird reside, and therefore the bird should only be a smaller part of the frame.
  • Perspective and Angles: Try varying your shooting angle to change the feel of your photograph. Shoot at eye-level with the bird for a more intimate perspective, or shoot from below for a more majestic or imposing view.

6. Post-Processing Tips

Editing your photos is important, but it doesn’t have to be overwhelming. Start simple:

  • Basic Edits: Programs like Photoshop, Lightroom, or Capture One are popular among photographers coming from other photographic genre, but beginners to photography can start with the software provided by your camera manufacturer. Begin with the simplest edits—cropping for better composition. Adjusting exposure, colour balance and contrast can significantly improve the final result too. Just avoid over-editing.
  • RAW vs JPEG: If you’re new, shoot in JPEG, as the camera processes the images for you. As you progress, perhaps switch to RAW for more detailed, flexible editing. Please understand that for the majority of bird photographers, JPEGs are sufficient for high quality photos. It is after all a steep learning curve to learn how to process a RAW file to exceed the quality of the in-camera JPEG.
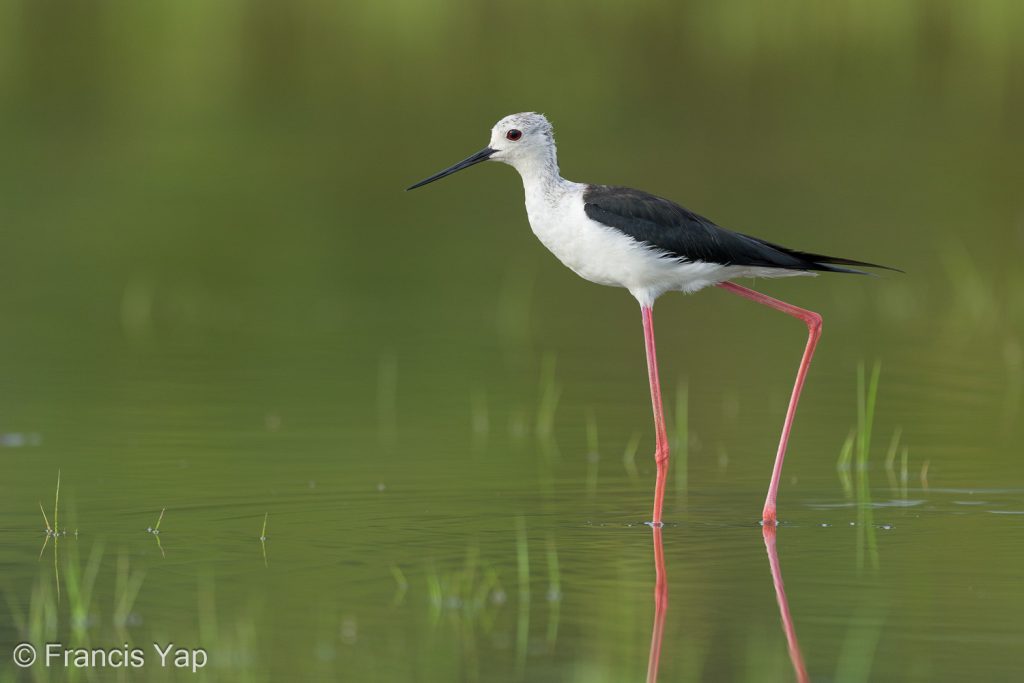
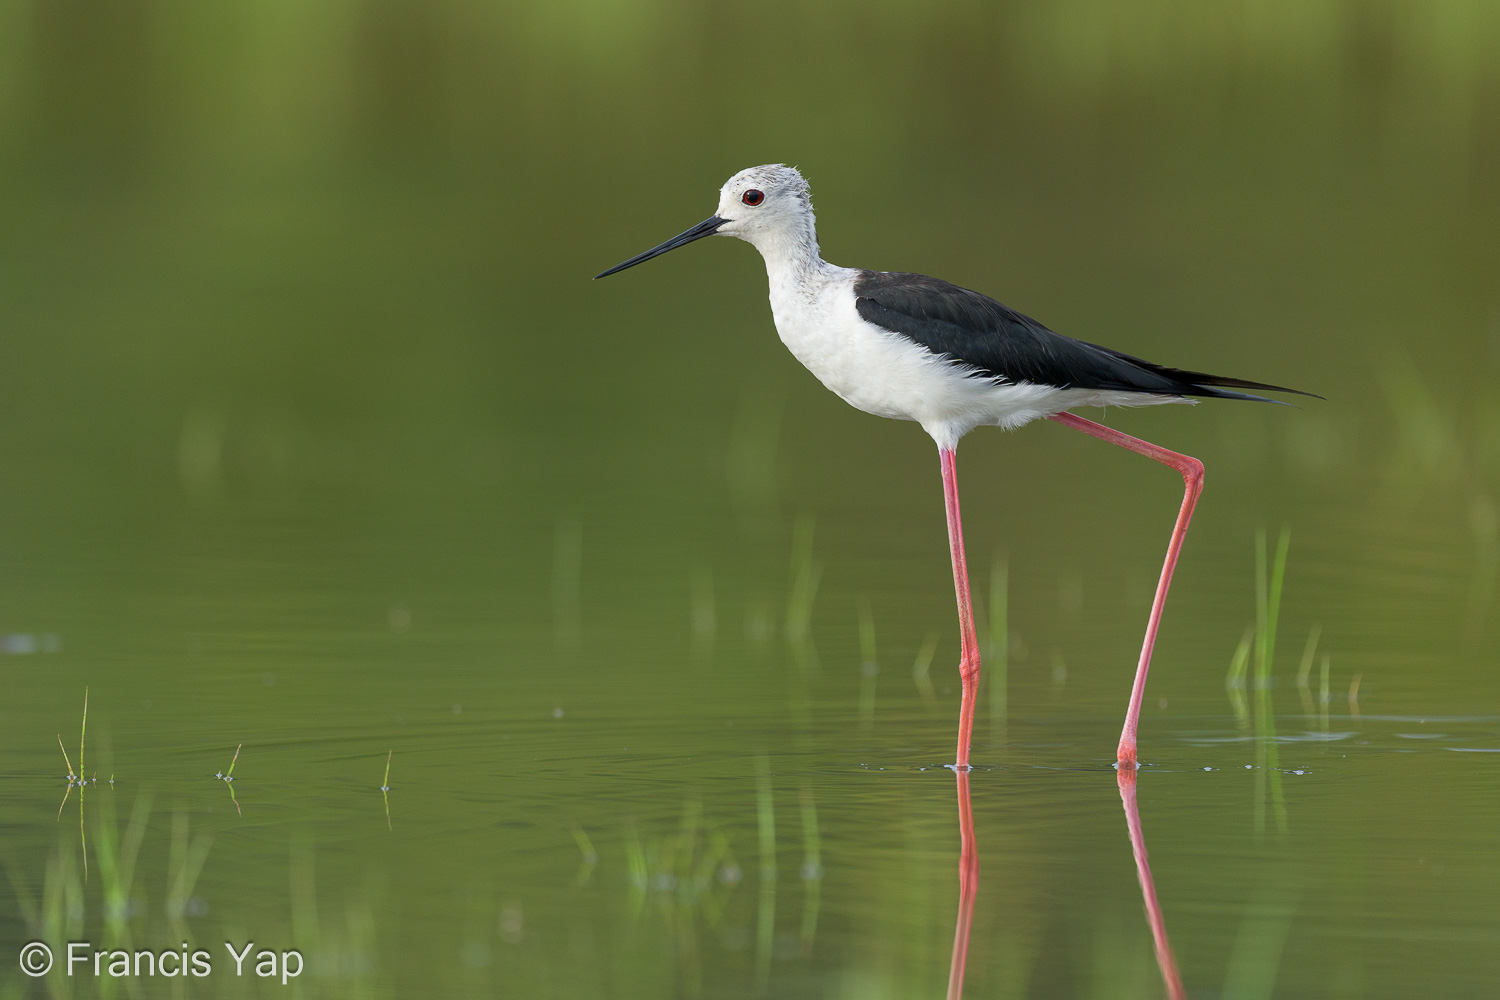
Adult Black-winged Stilt at Tuas South

Black-winged Stilt at Tuas South. Settings: 600mm, 1/800s, f/4.0, ISO 250

7. Where to Go Birding in Singapore

The birding community you join will guide you to the best spots for birdwatching. However, if you’re just want to photograph a few birds quickly, here are a few beginner-friendly locations:

  • Parks and Gardens:. Depending on where you stay, there is always a suitable birding site nearby. Try Jurong Lake Gardens if you stay in the west, Pasir Ris Park if you stay in the east and Singapore Botanic Gardens if you are looking for a more central location. Look out for garden birds like sunbirds, flowerpeckers, orioles, ioras, cuckoos, crakes, junglefowls and a whole lot more in these popular spots.
  • Sungei Buloh Wetland Reserve: This location is perfect for shorebirds and migratory species, especially during migration seasons.
  • Windsor Nature Park: Located next to our largest nature reserve, you’ll find more forest birds in location, including bulbuls, parrots, woodpeckers, barbets, owls and others
  • Singapore’s Abandoned Quarries: Singapore Quarry and Hindhede Quarry are great places for photographing kingfishers, eagles, swiftlets, and bee-eaters.

8. Advice

  • Be mindful: It’s OK to be excited about a bird you have never seen before. But look at where you are walking to avoid hazard. Look at where the rest of the bird photographers are positioned, so as not to block anyone’s views. Observe where the experienced photographers are placing themselves, because they are likely to have found a better shooting position. Don’t just simply shoot the bird at first sight unless you think it’s flying away in an instant. Observe their behaviour, understand them to anticipate what they are going to do next.
  • Gear Acquisition Syndrome: As you improve, beware of the desire to constantly upgrade your gear. It’s an expensive path, so be mindful of your purchases.
  • Social Media: Posting your bird photos on platforms like Facebook and Instagram can be rewarding, but it’s too easy to get caught up in the chase for likes, follows and shares. Balance your time spent online with time spent enjoying the hobby.
  • Travel: Singapore’s bird species are only a small fraction of the world’s birdlife. Consider travelling to broaden your experience and deepen your appreciation of the world (and birding).
  • Passion Over Clout and Profit: Pursue it for the love of the hobby and the joy it brings you. If you’re no longer enjoying it, it’s okay to explore other interests.
Lastly, don’t hesitate to seek help when needed. Every experienced birder started as a beginner, and the birding community thrives on mutual support. As you gain experience, you’ll have the chance to pay it forward by helping others. Good luck, and happy birding!

P.S. I am not affiliated to any of the equipment and brands I recommend. Please feel free to shop around for the things you like, and get the best bargain.

My short adventure photographing birds with film

Back in 2015, I decided on a whim to dabble a little bit in film photography. I got both a second hand Canon EOS 3 and a medium format Pentax camera from eBay. I remember them being pretty cheap as everyone was abandoning their film camera for the latest DSLRs then. I didn’t shoot much, and most of what I shot were family photos. But I did take it out on occasions to shoot with my 500mm lens on the Canon using Kodak Portra 400 film.

Here are a few of the photos that I managed to scan and process recently. Yes, it has taken about a decade for me to end my procrastination!

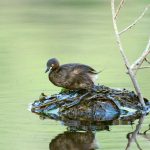
Maybe the quality of the photos were’t as good as that of the digital equivalent, but it was fun and educational at the same time. Just for a fun comparison, here’s the Little Grebe taken on the same day as the one with film, except it was captured with my Canon EOS 7D Mk2.

Little Grebe at Lorong Halus

Capturing the decisive bird moment

Recently there have been a lot of posts by photographer friends on a nesting of the Coppersmith Barbet. One of the most common ‘to-do’ list was to capture a parent flying in to the nest with food in mouth and with the wings spread, and the even more difficult and faster flying out with the chick’s poop in mouth! All the better with a composite shot consisting of a few wing flaps. There seem to be some competition with regards to who can capture this best, and invariably those with higher end equipment (pro vs prosumer camera, with 12 fps vs 5-6 fps), or those with the most time spent at the nest have a much better chance of success.

coppersmith barbet merge shot 2
(composite of 2 video frames of an adult flying away from nest, processed in Photoshop)

To digress a bit, this nesting probably made history with the number of photographers present as well as actual photos taken. To estimate the actual number of photos taken is an example of Fermi problem.

From initial hole building to fledging, lets say it is 60 days
Average number of photographers present per day (higher during weekend, lower during weekday), so lets say 25 people (morning and afternoon sessions combined).
Average length of stay for photographer: 3 hours
Average feeding frequency: 15 minutes
Average number of pictures per feeding: 60

Doing the sums give you (60 X 25 X 180/15 X 60) = 1.08 million pictures!

Anyway, back to decisive moment. The reason why so many photographers go again and again to take basically the same set of pictures is because it is hard to get everything right. On a 12fps top of the range DSLR, the number of in-focus shots of the bird flying per feeding session can be as low as 2 (I will explain below with an example). For a slower frame rate camera, it is half the amount. Of these, perhaps the wing/body/eyes are in the wrong position. So it’s no wonder that people try again and again over extended period of time to get the decisive shot.

Is there a better way? Especially for those without more expensive equipment or without much time? The answer is definitely yes, and I will outline how.

To do so is to think a bit differently. Firstly, forget about shooting RAW or JPEG. Think about shooting video.

Not any video, but video at 1080p (1920 x 1080px) @30fps with ALL-I (intraframe), or 720p (1280 × 720px) @ 60fps with ALL-I (intraframe) . Most modern DSLR can do these. Make sure the settings for the shutter speed for the video is high, say 1/2000s thereabouts. Shutter speed and video fps are 2 different things. Video fps is commonly 25/30/50/60 fps for normal DSLR. Whereas shutter speed is actually how long each frame’s exposure should be. It seems funny now, but I just managed to de-couple these 2 concepts in my mind just yesterday, permitting me to test it out.

In the video below, I was shooting at 1080p @ 30fps, 700mm, f/5.6, 1/1600s, ISO 5000. The camera was pre-focussed on the tree stump via Live View, and left in manual before the video commenced. I had to settle for a slower shutter speed and higher ISO as the lighting conditions were not ideal.

The processed video has been slowed down to 10% of it’s original frame-rate. You will see that from the moment the bird start to be in focus to the time where it almost land, there are 6 separate, in-focus frames. That means the bird was in focus for 6/30 = 0.2 seconds. So if you have a top-end DSLR capable of 12fps in still shot mode, you get (12 X 0.2) = 2.4 clear shots. If your DSLR is capable of 5fps, then you get (5 X 0.2 )= 1 clear shot for this flight sequence.

So if we get 1 clear shot in still, and a video gets 6, then obviously we need to take advantage of this. But how do we get the shots out of the video? There are many ways, but I am a lazy guy. On a Mac, I just open the file in Quicktime, go to the relevant video section and advance the frame one at a time and then capture the screenshot and open in Photoshop.

What’s the quality like? Below is a sample of the composite of 3 shots in the sequence. Cropped, resized, sharpened and some saturation added. In an ideal situation, I would prefer to frame it without cropping. In this case, I did not have a favourable position to get a closer shot, and an additional teleconverter would make the already high ISO even higher due to the dim lighting condition.

coppersmith barbet merge shot
(composite of 3 video frames of an adult flight to nest, processed in Photoshop)

What about other scenarios? I present below a video and a screenshot of a feeding adult. This was shot using a Canon EOS70D at 1080p @ 25fp and shutter speed of 1/400s at ISO 200. I wanted a shot of the adult with full berries in mouth, with the eyes in direct line of sight and the chick head jutting out to receive. There are many frames that satisfy this criteria, but I just picked one that I like the best. Easy. There is no manipulation done. Perhaps some sharpening or cropping may be advantageous.

Coppersmith feeding screenshot
(photo from video frame)

To be clear, there is still a good argument to do fast-shutter speed still photography. The quality of the shots is still going to be superior. See photo below. But certainly, there are more than one way to go about doing things, and we pick and choose our tools according to the situation.

Coppersmith Barbet
(photo developed from RAW file)

Are there any more relevant scenarios where this is useful besides nesting moments? Well, this year I wanted to photograph a snipe preening to clinch it’s ID. It took many tries using still photography, but I bet if I had used this technique instead, I would have a much better photographs to show with lesser effort. There are also many instances like a kingfisher/raptor landing/flying to/from a fixed position that will benefit from using high shutter speed video frames.

In summary, here are some of the advantages/disadvantages of this technique:

Advantages:

  • Judging the decisive moment is difficult in photography. You may be a bit too late/early or run out of camera buffer. You may have low fps camera. In this technique, just start video before the subject’s arrival and wait. While others are fretting about buffers and timing, sit back and relax.
  • You have many frames to choose from per session. Up to 6 times more than a slower camera, so choose the best post/moments. If that is not sufficient, then use 720p @ 60fps, You get a smaller dimensioned files, but twice as many frames than 1080p @ 30fps.
  • Certain micro details are only visible in video. No matter how skillful you are, an owl swaying side to side for example is difficult to show in still picture. This is just the result of the strength of the medium. In this barbet feeding session, you get to learn more about the bird. How fast it flaps its wings, or even how it angled its flight for example. I think the ability to slow things down makes the whole viewing experience more enjoyable, and video frames is superior to still frames in that regard.
  • You spend less time on one bird, or one one aspect of the bird and more time on other things. That’s always good for yourself and for the bird.


Disadvantages:

  • Only applicable to fixed focus subject.
  • Limited to certain sizes of picture. This will change in future as 4K video capable camera are more reasonably priced. For now, it’s Facebook sized pictures
  • Frames out of the video is not as good in quality compared to RAW files, due to the nature of video compression
  • Takes the fun out of the excitement of waiting. Like the initial introduction of autofocus, some purist will say this is the death knell for the art of photography or of the decisive moment.

Disclaimer: This is a rough guide, not a step by step guide. I do not guarantee that what works for me will work for everyone else. Every camera system is different with a multitude of settings. Please experiment and find your ideal settings.