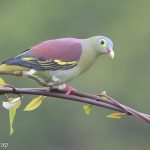
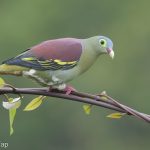
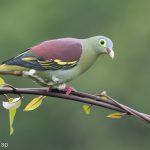
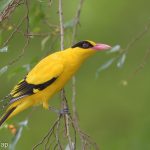
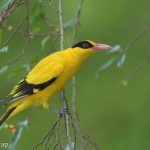
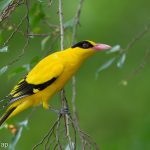
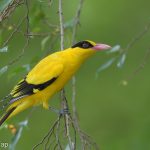
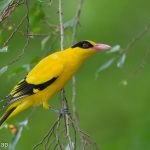
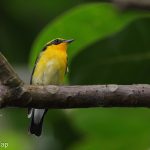
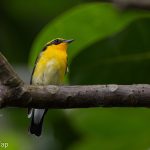
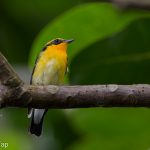
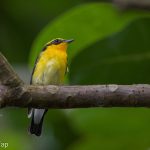
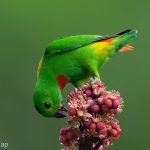
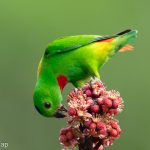
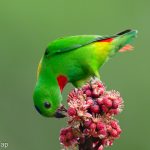
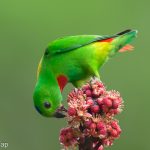
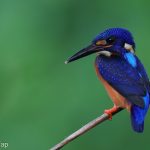
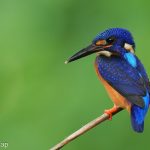
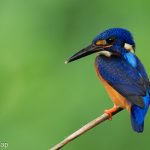
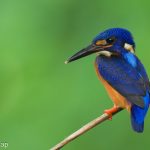
I recently downloaded a trial version of DxO PhotoLab 8 to explore its capabilities and compare it to my current RAW file converter, Adobe Lightroom Classic, along with the camera manufacturers’ own RAW converters. For this comparison, I used RAW files from five different camera bodies, all of which I have owned at some point.
Test Objective
The primary goal of this test is to evaluate the colour and tonality of each processed images. Since I frequently shoot using auto-ISO, my exposure settings can vary. To ensure a fairer comparison, I made necessary adjustments to only exposure, colour temperature, and tint. Other than cropping (done in Lightroom for consistency) and applying noise reduction for some DxO PhotoLab’s processed images, I avoided additional edits like contrast correction, highlight recovery, saturation boosts, or any others to keep the comparisons straightforward.
These adjustments reflect my personal taste, and everyone’s preferences for colour and tonal balance may differ. The conclusions here are hence purely my own. You also can download the zipped file at the end of this article to view all the processed files and form your own opinions.
Theese comparisons are organised by camera models.
Canon EOS 1DX Mark II
This is the oldest camera in this comparison. For Adobe Lightroom, I used both the Adobe Color profile and a custom colour profile. For comparison, I used Canon Digital Photo Professional 4 (DPP) with the Fine Detail Picture Style, and DxO PhotoLab 8 with its default camera profile.
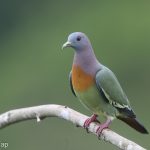
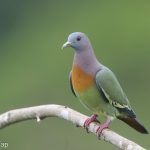
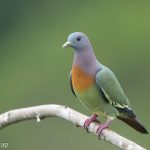
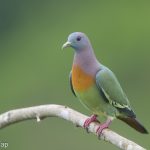
Pink-necked Green Pigeon
- Canon DPP Fine Detail Original
- Canon DPP Fine Detail Corrected
- Lightroom Adobe Color
- DxO Photolab 8
- Lightroom Personal Profile
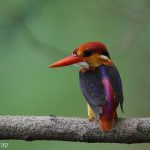
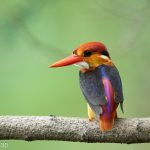
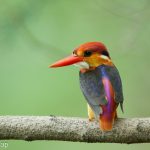
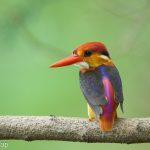
Black-backed Kingfisher
- Canon DPP Fine Detail Original
- Canon DPP Fine Detail Corrected
- Lightroom Adobe Color
- DxO Photolab 8
- Lightroom Personal Profile
King Quail
- Canon DPP Fine Detail Original
- Canon DPP Fine Detail Corrected
- Lightroom Adobe Color
- DxO Photolab 8
- Lightroom Personal Profile
Nikon D500
The second-oldest camera in this comparison. For Adobe Lightroom, I used both the Adobe Color profile and the Camera Neutral profile. For comparison, I used Nikon NX Studio with the Neutral Picture Control, and DxO PhotoLab 8 with its default camera profile. The Camera Neutral profile in Adobe Lightroom closely matches Nikon’s in-camera Neutral Picture Control in NX Studio.
Thick-billed Green Pigeon
- Nikon NX Studio Original
- Nikon NX Studio Corrected
- Lightroom Camera Neutral
- Lightroom Adobe Color
- DxO Photolab 8
Black-naped Oriole
- Nikon NX Studio Original
- Nikon NX Studio Corrected
- Lightroom Adobe Color
- Lightroom Camera Neutral
- DxO Photolab 8
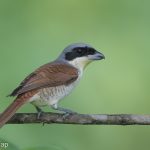
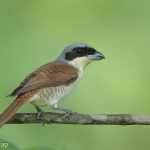
Tiger Shrike
- Nikon NX Studio Original
- Nikon NX Studio Corrected
- Lightroom Camera Neutral
- Lightroom Adobe Color
- DxO Photolab 8
Sony A9
This camera is often considered challenging in terms of colour rendering. However, with the right adjustments to colour balance (temperature and tint), it can produce good results with the right software. For Adobe Lightroom, I used both the Adobe Color profile and a custom colour profile. For comparison, I used Sony Imaging Edge Desktop with the Standard Creative Look, and DxO PhotoLab 8 with its default camera profile.
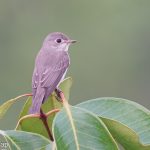
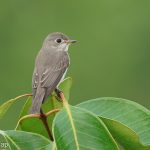
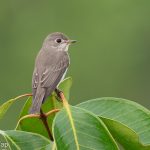
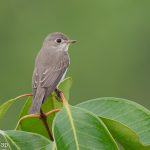
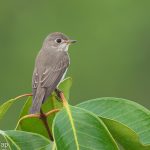
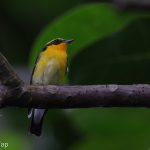
Asian Brown Flycatcher
- Sony Imaging Edge Original
- Sony Imaging Edge Corrected
- Lightroom Adobe Color
- DxO Photolab 8
- Lightroom Personal Profile
Straw-headed Bulbul
- Sony Imaging Edge Original
- Sony Imaging Edge Corrected
- Lightroom Adobe Color
- DxO Photolab 8 DeepPRIME XD
- Lightroom Personal Profile
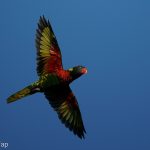
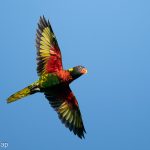
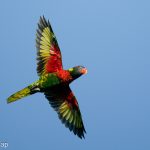
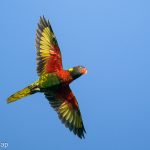
Coconut Lorikeet
- Sony Imaging Edge Original
- Sony Imaging Edge Original
- Lightroom Adobe Color
- DxO Photolab 8
- Lightroom Personal Profile
Canon R5
This is my underutilised backup camera, and I haven’t taken many photos with it. For Adobe Lightroom, I used both the Adobe Color profile and a custom colour profile. For comparison, I used Canon Digital Photo Professional 4 (DPP) with the Fine Detail Picture Style, and DxO PhotoLab 8 with its default camera profile.
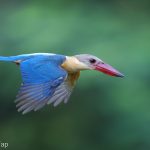
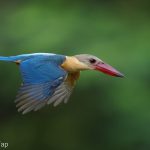
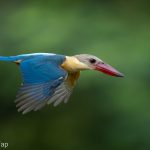
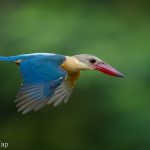
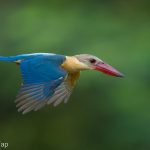
Stork-billed Kingfisher
- Canon DPP Fine Detail Original
- Canon DPP Fine Detail Corrected
- Lightroom Adobe Color
- DxO Photolab 8 DeepPRIME XD
- Lightroom Personal Profile
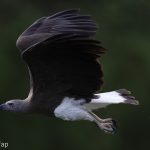
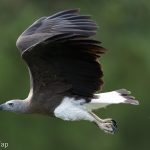
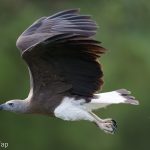
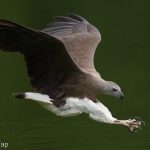
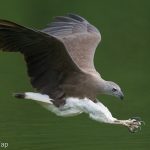
Grey-headed Fish Eagle
- Canon DPP Fine Detail Original
- Canon DPP Fine Detail Corrected
- Lightroom Adobe Color
- DxO Photolab 8 DeepPRIME XD
- Lightroom Personal Profile
Narcissus Flycatcher
- Canon DPP Fine Detail Original
- Canon DPP Fine Detail Corrected
- Lightroom Adobe Color
- DxO Photolab 8 DeepPRIME XD
- Lightroom Personal Profile
Sony A1
This is my current main camera. For Adobe Lightroom, I used both the Adobe Color profile and a custom colour profile. For comparison, I used Sony Imaging Edge Desktop with the Standard Creative Look, and DxO PhotoLab 8 with its default camera profile.
Blue-crowned Hanging Parrot
- Sony Imaging Edge Original
- Sony Imaging Edge Corrected
- Lightroom Adobe Color
- DxO Photolab 8
- Lightroom Personal Profile
Blue-eared Kingfisher
- Sony Imaging Edge Original
- Sony Imaging Edge Corrected
- Lightroom Adobe Color
- DxO Photolab 8 DeepPRIME XD
- Lightroom Personal Profile
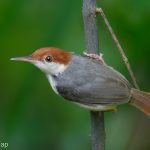
Rufous-tailed Tailorbird
- Sony Imaging Edge Original
- Sony Imaging Edge Corrected
- Lightroom Adobe Color
- DxO Photolab 8 DeepPRIME XD
- Lightroom Personal Profile
Grey-headed Fish Eagle
- Sony Imaging Edge Original
- Sony Imaging Edge Corrected
- Lightroom Adobe Color
- DxO Photolab 8 DeepPRIME XD
- Lightroom Personal Profile
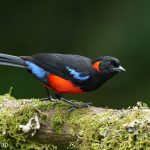
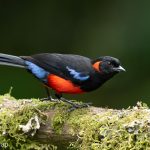
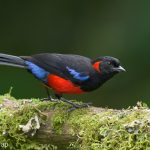
Scarlet-bellied Mountain Tanager
- Sony Imaging Edge Original
- Sony Imaging Edge Corrected
- Lightroom Camera Neutral
- DxO Photolab 8 DeepPRIME XD
- Lightroom Personal Profile
Discussion
Processing 17 images using four different methods each has been quite a challenge. While some images could be tweaked for better results, I’ve imposed a deadline for this review. I chose more challenging images with varying dynamic range, exposure, and colour balance issues across several camera models. For the more contrasty scenes, I chose to keep the scene a bit underexposed so as not to have too much highlights blown out, so as not to overly penalise the converters that have a higher contrast starting point.
After reviewing the images, my initial impression is that getting colour temperature, tint, and exposure within an acceptable range is more crucial than the choice of RAW converter itself. In the end, the final conversions are not ALL that different from each other in feel to be honest, although I have clear favourites.
The manufacturers’ software offers good colour and tonality as expected, but their controls can be unintuitive and lack the ability to easily revert experimental changes, although the RAW files remain unaffected. Despite these limitations, they provide a solid starting point for further processing.
DxO PhotoLab produces consistently pleasing results. While I can’t measure what the “correct” colours are in this comparison, the outcomes look natural and satisfying. I’m quite impressed with DxO’s feature set, particularly its RAW conversion, denoising, and lens correction capabilities. It’s a mature software package, and I can see myself using it for more challenging conversions.
Adobe Lightroom conversions, particularly with the Adobe Color profile, don’t excite me. This profile is too contrasty in many situation although that can be adjusted. It seems to have trouble with rendering very saturated colours that are present in some birds, regardless of contrast adjustments. However, for the Nikon D500, I’m content with the Camera Neutral profile.
Ultimately, colour and tone preferences are personal, and what works for one person may not work for another. Adobe Lightroom and Adobe Photoshop dominate the RAW conversion space, and most users are satisfied with their rendering, so perhaps my dissatisfaction is more of a “me” issue.
If you’re curious, you can download the original processed files in zip format for closer inspection here (48.5Mb).

